
Taking your own real estate photos is easy, with a few helpful tips and tricks.
The real estate photos that are posted to Zillow, Trulia, or any other home sale site give potential buyers their FIRST look inside your house. This initial look could last only a few seconds, as the potential buyer scrolls through your pictures. BUT, if you do a good job with your pictures, you may just get that potential buyer to come to your house.
Your pictures are your first sales pitch. They are the first impression of your home, and you want it to be a good one. In fact, it has to be so good, that it sets your home apart from the million other homes on Zillow.
How can you take good real estate photos?
Keep reading for my top fifteen tricks and tips.
This post may contain affiliate links. If you have any questions, please see my disclaimer page.
1. Clear the room of all clutter.
It doesn’t matter how good your picture taking skills are, if your room is cluttered, your picture will look bad!
Here is a good way to check if your room is sufficiently decluttered: take a picture of the room. Pull it up on your computer and take a look. I find that looking at a room in a picture really shows the things that I don’t see when I am just standing in it. If you still don’t think it looks cluttered, have someone else look at it. Ask them to point to any clutter. Then remove everything that is identified.
Clutter includes: papers, books, remotes, pens, toasters, cutting boards, pictures, knick knacks, bags, toys, stools, etc. It basically means everything except furniture and lamps.
A lot of times when I take pictures for real estate photos, I just move the stuff into another room until the picture is done. It takes some shuffling, but is worth it in the end when you have a picture that is completely clutter free!
2. Take down your personal pictures.
I know you spent a lot of money on those wedding photos, or on that amazing picture of your baby wrapped up and placed in a basket. BUT, your buyer may be someone who just got a divorce, and does not want to be reminded of a wedding right now. Or, maybe they are longing for a baby but just haven’t been able to have one yet. You don’t want them them looking at your pictures and having any sort of negative feelings, so just remove any personal pictures.
Replace them with either nothing (because open wall space makes the room look larger) or with a nice, neutral (non feeling invoking) picture. TJMaxx is great for these.
3. Clean your mirrors and windows.
I know what you’re thinking. Are we really going to see smudges on the mirror in picture?
Yes, yes you are. I learned this the hard way. Clean the mirrors.
And while you’re at it, clean the windows. You need to do this before you show the house anyways, so get to it. It makes the room a lot brighter because so much more sun shines in (how do windows get that dirty anyways?).
4. Open the blinds and turn on all the lights.
Turn on the bedside lamps, the overhead lights, and any other light you have in the room. If its a particularly dark room, bring in lights from other rooms. Open all the blinds. Open the curtains as wide as they go. Get as much light in that room as possible.
5. Make sure the linens are laying neatly.
Arrange the curtains so they lay evenly on each side of the window. Smooth out the bedspread (and make the bed – though that should go without saying). Fluff the pillows. Make the room look neat as a pin.
6. Hold the camera just above waist height.
This is super important. It changes the whole perspective of the room.
Look at this next picture. I took it while the camera was held up to my eye (like the normal way you take a picture). Not good, right? Plus, the blinds were closed, making the room look dark and small.
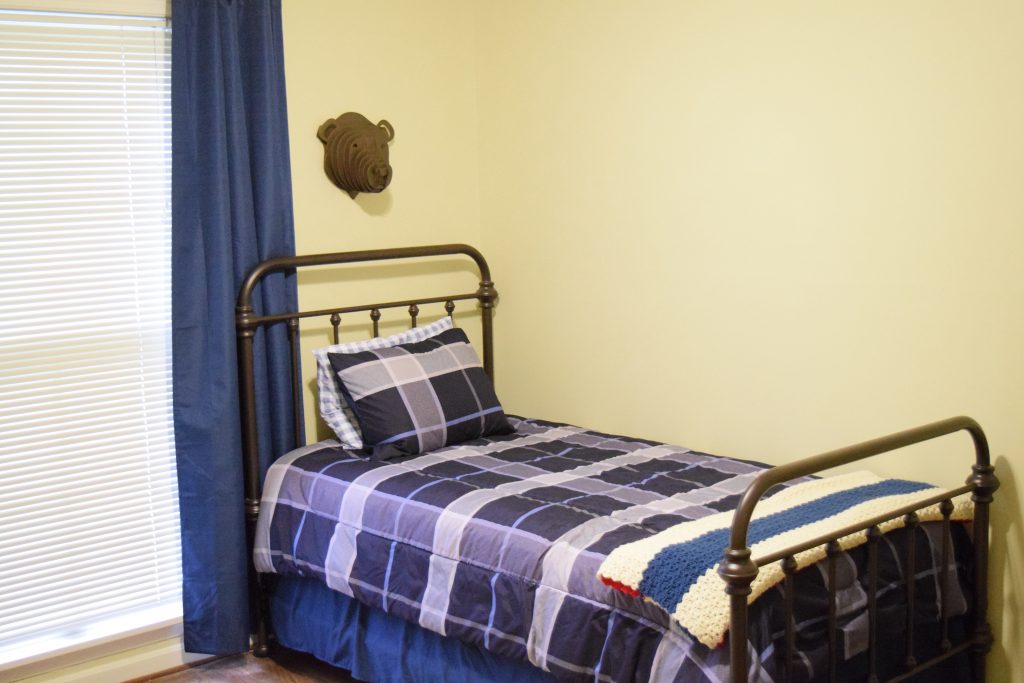

Now look at this picture. Same room, different angle.

Doesn’t that look so much better?
If you’re like me, you’ll have to take about ten of the same shots to get it just right. Even this picture isn’t right. See the plug in the wall? I removed it and fixed the books for the final shot.
7. Stand as far back as possible.
Stand outside the room if you can. Crouch in a corner. Stand in the closet. Just get as far back as you can.
You may have to try a few different angles to make the room look as large as possible. Take the shot from each corner of the room and then look back and see which one is best. Sometimes you’ll be surprised at the results!
8. Take a wide shot (landscape) instead of a tall shot (portrait).
For example, in these shots I was trying to showcase that there was a little hallway in the master that the bathroom came off of that also had a linen closet. Here is the first photo of that – a tall shot.
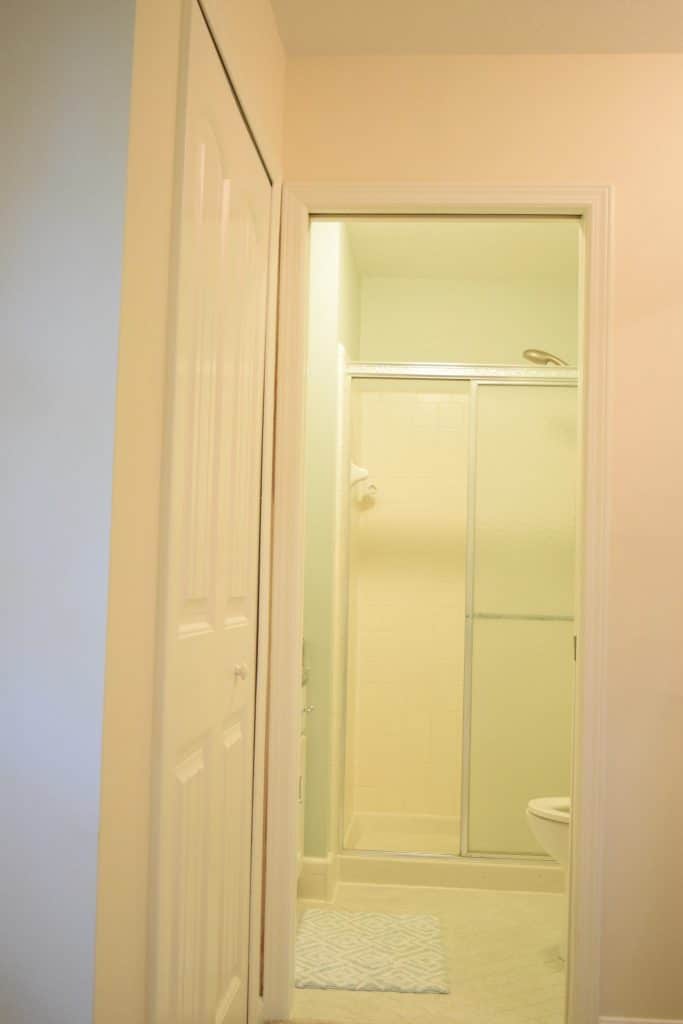
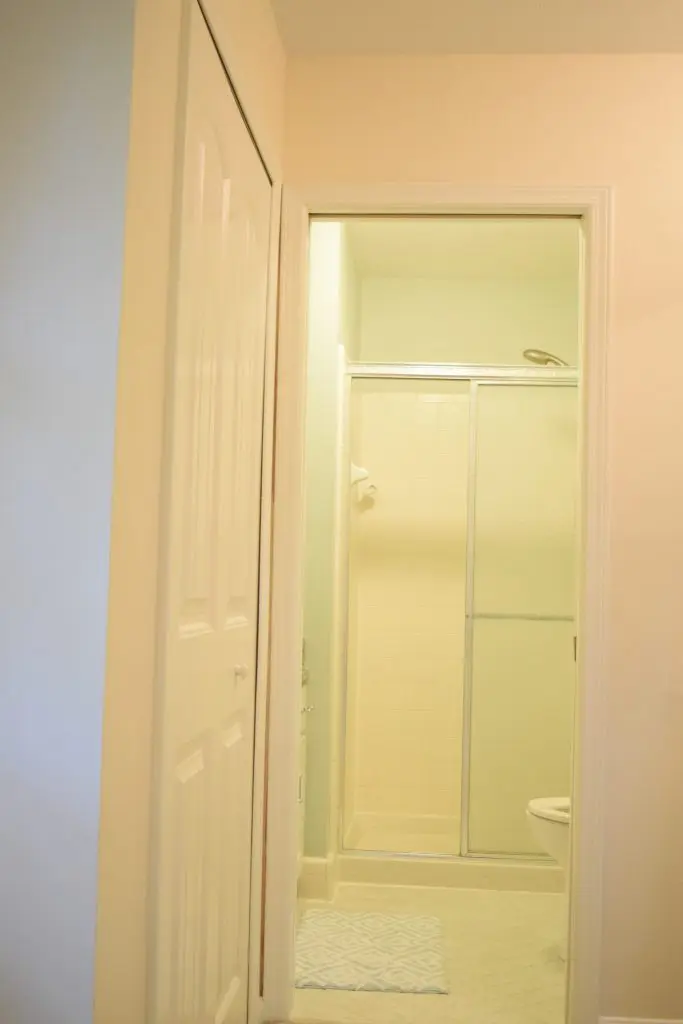
Looks terrible, right? You are left wondering what is going on in this photo. Is this a hall? Why is this person taking a picture of the bathroom from this far away?
Now look at how it looks with a wide shot.

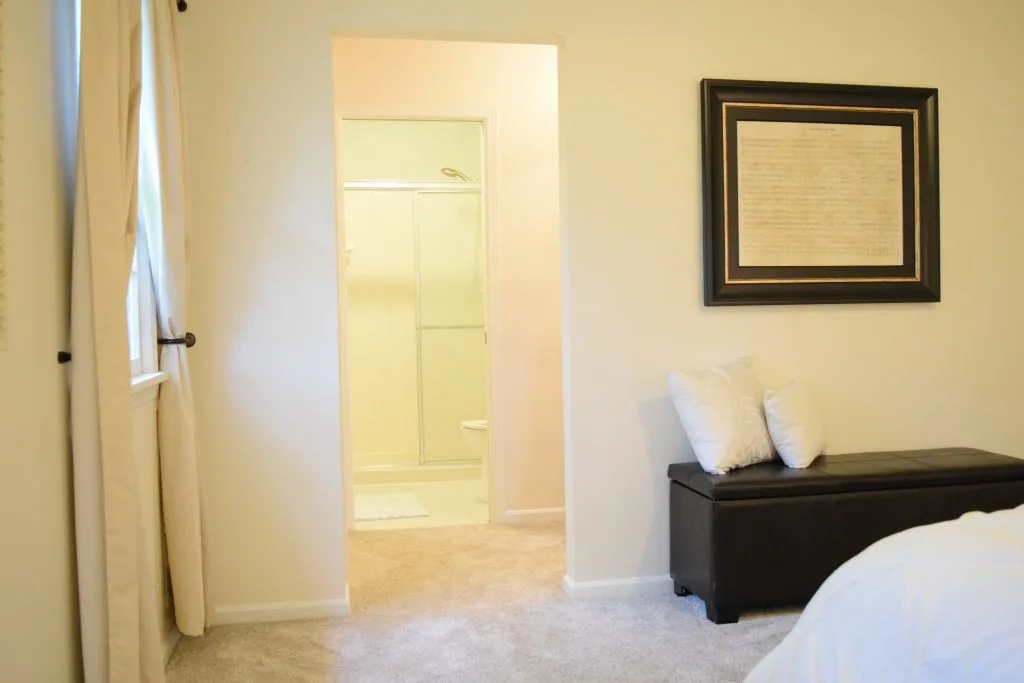
When I see this it shown this way, it makes a lot more sense. Sure, it doesn’t show the closet, but have you ever ruled a house out in the photo stage because you don’t see a linen closet? Me neither. Instead of showcasing the fact that there was a linen closet, I chose the picture that made the area look larger, and let the linen closet be an added bonus when the potential buyers walked through.
Remember, you never want someone to look at your pictures and have to wonder what is going on!
9. Use a good camera.
Your iPhone camera probably isn’t good enough. I use a Nikon D3500 when I take my photos. It is a little bit pricey (though not bad at all for a nice camera). Not only does it take great photos for real estate, it takes amazing photos of my kids – like professional quality (and I am NOT a good photographer!).
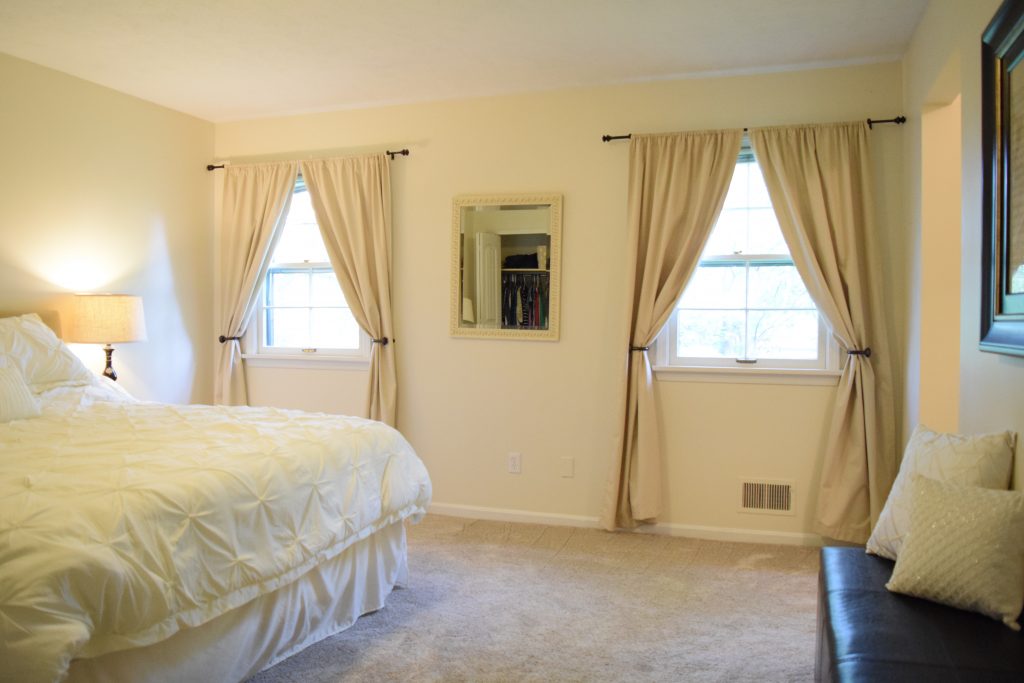
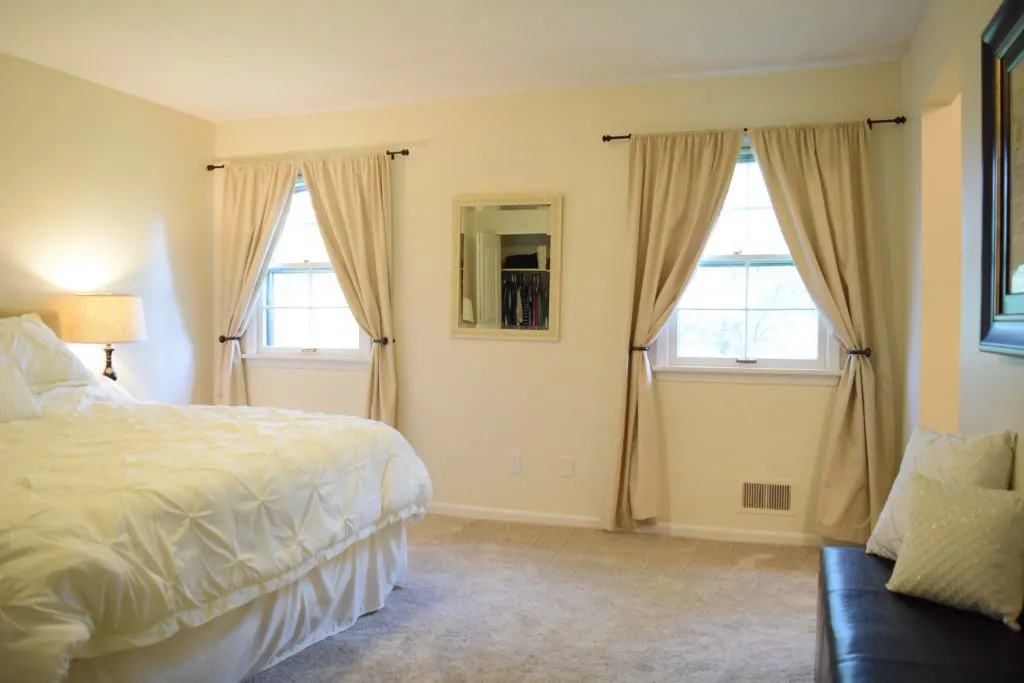
If you do get this camera, or if you have your own, check if you have a High Impact feature. This filter makes my photos look SO much better. It brings a lot more light into the picture, and, since I don’t know how to edit the photos to make them look better, this is really clutch for me!
Look at these two photos, one on the normal setting, and one on high impact. The brighter, high impact setting, one looks so much better!

High Impact Setting 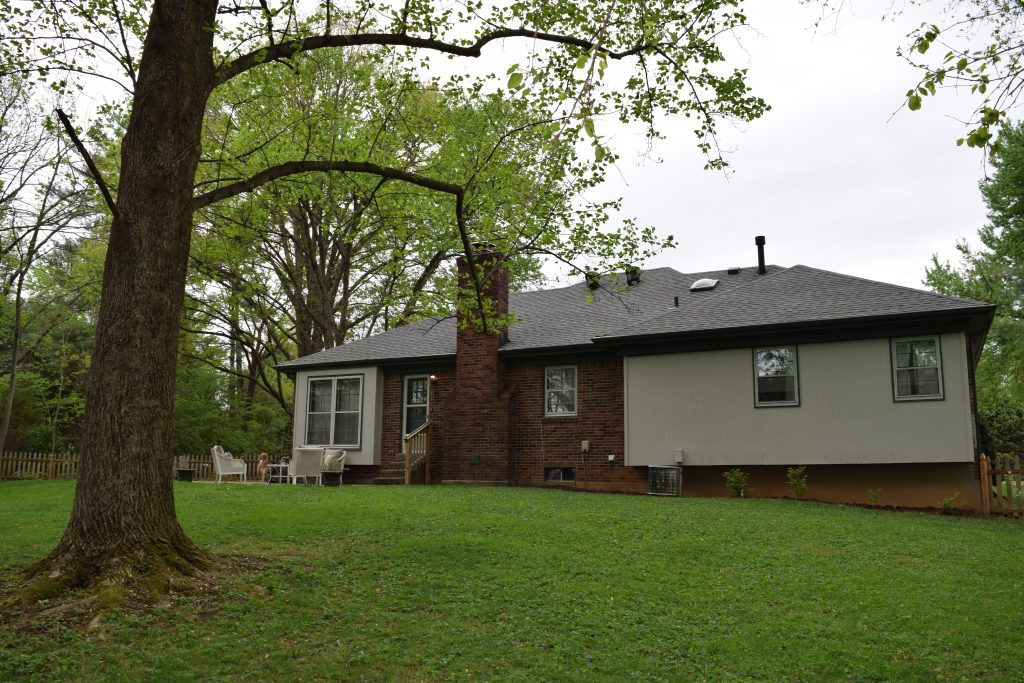

Normal Setting
If you can’t buy one right now, borrow one from a friend. A DSLR camera is a great choice.
10. Get your kids out of the photo.
Do not put your children, your pets, your spouse, or anyone else in your photos.
When you see real estate photos with someone in them, they immediately look unprofessional. Instead of looking at the room or the house, you look at the person.
11. Pay attention to what is in the mirrors.
I learned this one the hard way too. I thought I was DONE with my photos, uploaded them to my computer, and look what I found.
See the mirror? When I look at this picture, all I notice is that I left the closet door open. Shut the door and start over!
12. Special tips for kitchens.
When taking pictures of your kitchen, remove everything from the countertops. Remove all magnets from the fridge. Put the faucet to the center of the sink. Put all the soaps and sponges in a cupboard. Clean the front of the microwave, dishwasher, fridge and stove (those smudges will show in photos). Make your kitchen look like no one has ever used it. It will look larger and cleaner this way!
If you have a table in your kitchen, or if you take a photo of your dining room, make sure the chair are neatly arranged, and the same distance from the table.
13. Special tips for bathrooms.
Close the toilet lid. Open the shower curtain partway to make the room larger. Remove everything from the vanity top. Put the garbage can and toilet bowl brush away. And last, if the bathroom is small and the best shot you can get is one that just showcases the toilet, maybe its best to just leave it out!
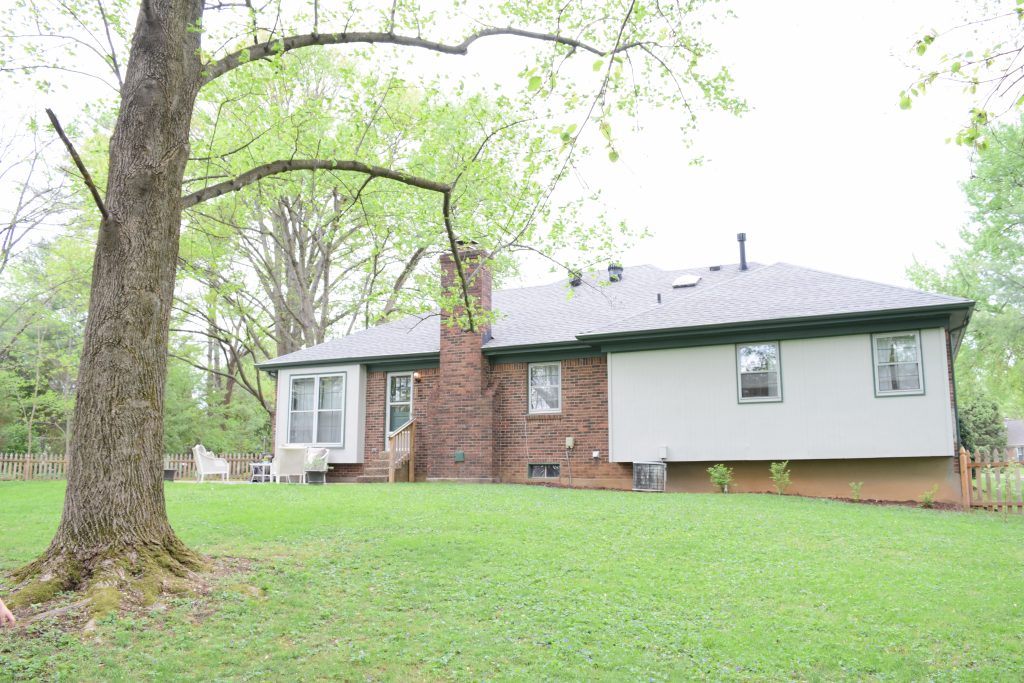
14. Special tips for exteriors.
When photographing the exterior of your home, remember that curb appeal is king! Take the photo from a lot of different angles, and then decide later what the best angle is. For some homes, this will mean standing on something really tall (I stood on my car as it was parked across the street for one of my homes).
Try to take your photo on a bright day. Overcast days look really dreary in real estate photos, making the whole house seem dreary.
If you have access to one, take a drone photo. This makes the listing look really top notch.
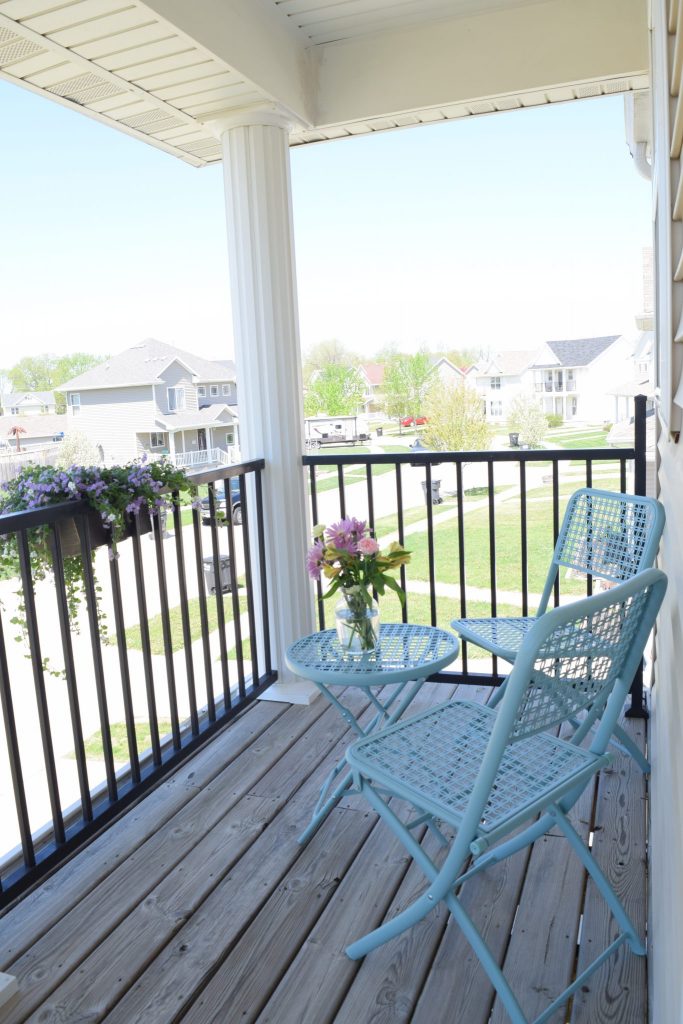
15. Highlight special spaces.
Is there somewhere in your house that is particularly inviting? You may want to feature that spot. In one listing, I included a picture of the front porch swing. While this didn’t really show much about the house, it gave the viewers a sense that they could sit on that porch and swing on that swing.
See how inviting this deck looks in this photo?

Before we go, listen up to a few key takeaways on taking good real estate photos!
First, make it very clear what you’re taking a picture of. You want nothing in the room that people look at and say, “What in the world is that?” It takes the focus off of the main thing, which is how nice your home is!
Second, make the room as large as possible. Remove excess furniture, and all clutter. Remember, clutter is anything that isn’t furniture or lamps!
Third, get as much light in as possible.
Fourth, don’t do anything weird! No weird filters, no kids in the photo, no odd angles to be artistic, etc.
That is how you can take good real estate photos!
All the dos, and a few key don’ts.
Good luck selling your home!
If you’re planning to list your house on your home, check out my post on how to list your house for sale by owner. It has everything you need to know to get your house on the market.
And while you’re at it, check out how to hold your own open house (and what to do when you get an offer!).
Pin this post to save it for later!

Megan
Sunday 14th of February 2021
Can you share more information on what camera setting you use with your Nikon? I borrowed a friends Nikon D3500 and am wondering what setting your recommend!
Lauren
Monday 15th of February 2021
Hi Megan! I use the High Key setting. It reduces shadows and gives everything a very bright, well lit look. Good luck taking your photos!