How to Silver Leaf Your Decor
Several months ago, I was at one of those antique shops that feature many different vendors. One of the vendors had a gorgeous mirror that was painted minty green, with wispy white paint , and silver accenting on the edges.
It was love at first sight.
I stared at it for a long time, and probably would have bought it if I hadn’t been traveling with no way to bring it home.
The woman who made it happened to be rearranging her treasures, so I commented on how amazing the mirror was. She agreed, saying that it was one of her favorite looks. Through our conversation, she told me how she did it.
Now, I’ll tell you!
I love making my own decor for my house. It is fun, it gives me a creative outlet, and it is much less expensive than buying all of the beautiful things that I want! Plus, I get a thrill out of updating something that I already have instead of buying something new.
This post may contain affiliate links. If you have any questions, please see my disclaimer page.
I love vintage, ornate pieces.
They are gorgeous. And once in a while, you can find them already done up for a great price. But usually, someone is charging a lot of money for these types of things. Don’t get me wrong, many times it is totally worth it! But, if I can create the look myself, it makes me love the piece even more.
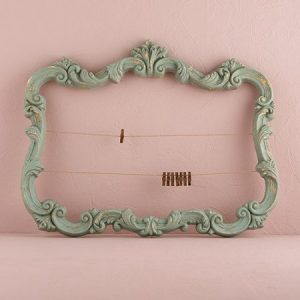

This is an example of what I wanted to do. This particular frame is sold on Wayfair, and has gold accents. I love it, but I love free or cheap even better!
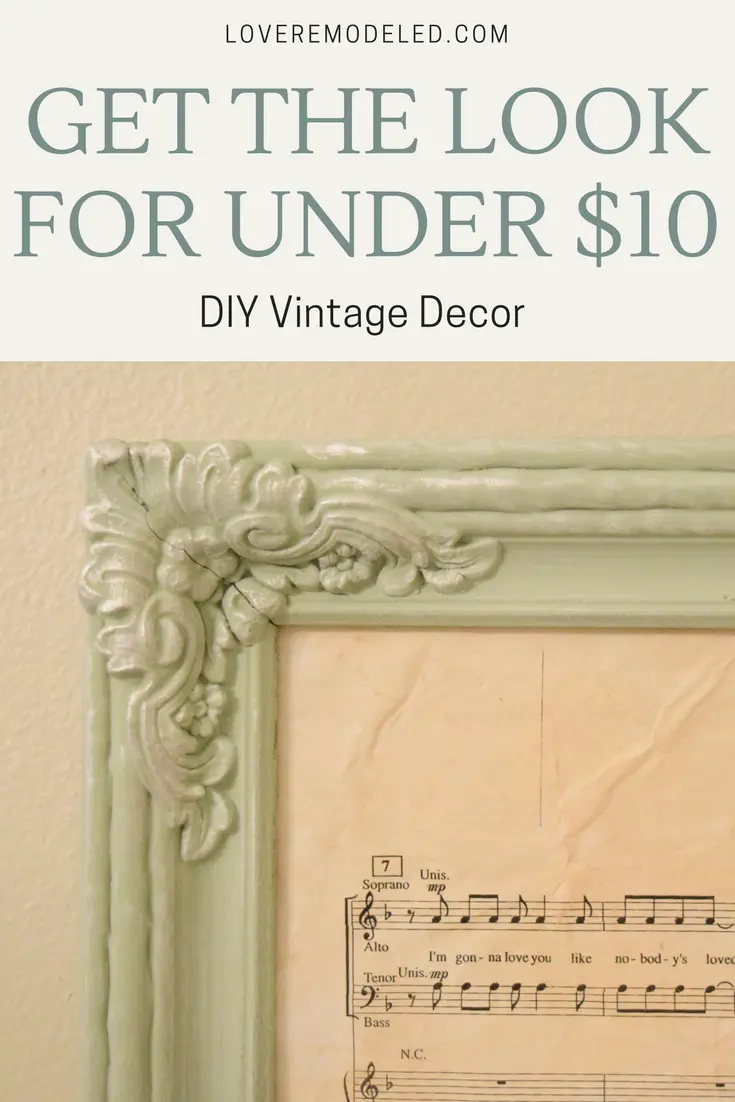
Here is how I got this look for under $10.
Start by finding the perfect piece of decor. It can be an end table, picture frame, candlestick holder, etc. Anything that needs new life breathed into it.
Silver leafing is perfect for something with elegant scrolling or appliqués. The silver sits so beautifully on the edges of the piece, giving it just a hint of shine.
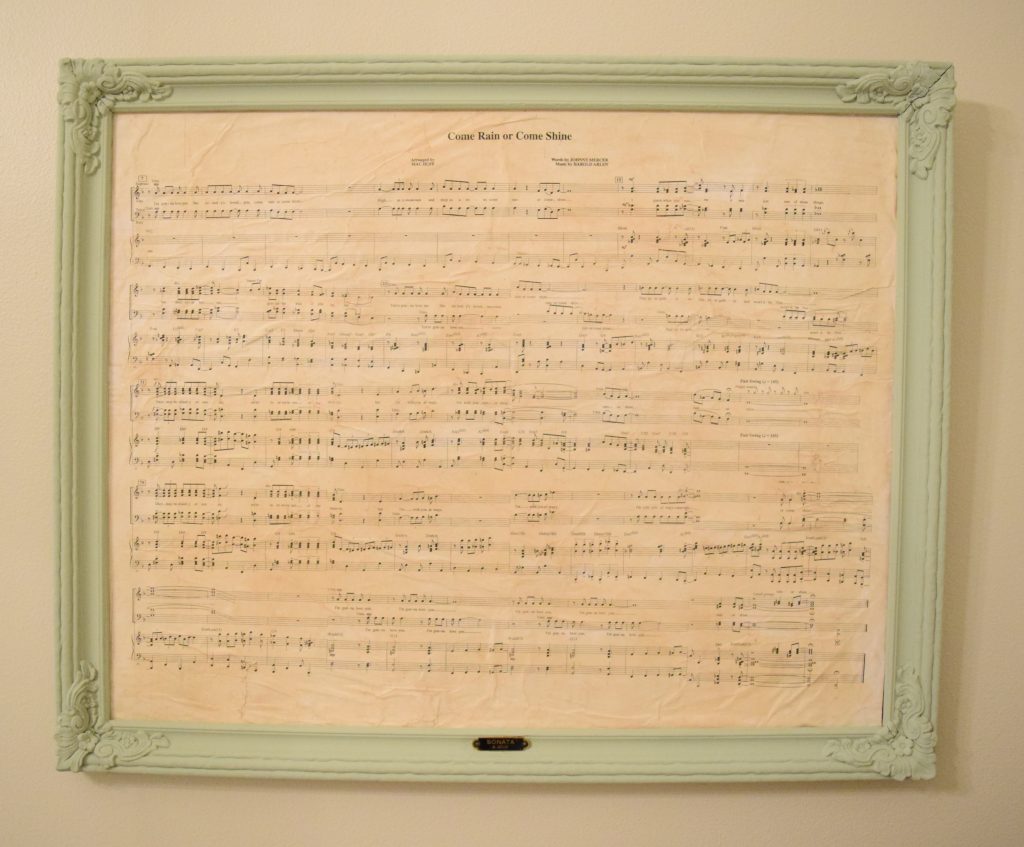
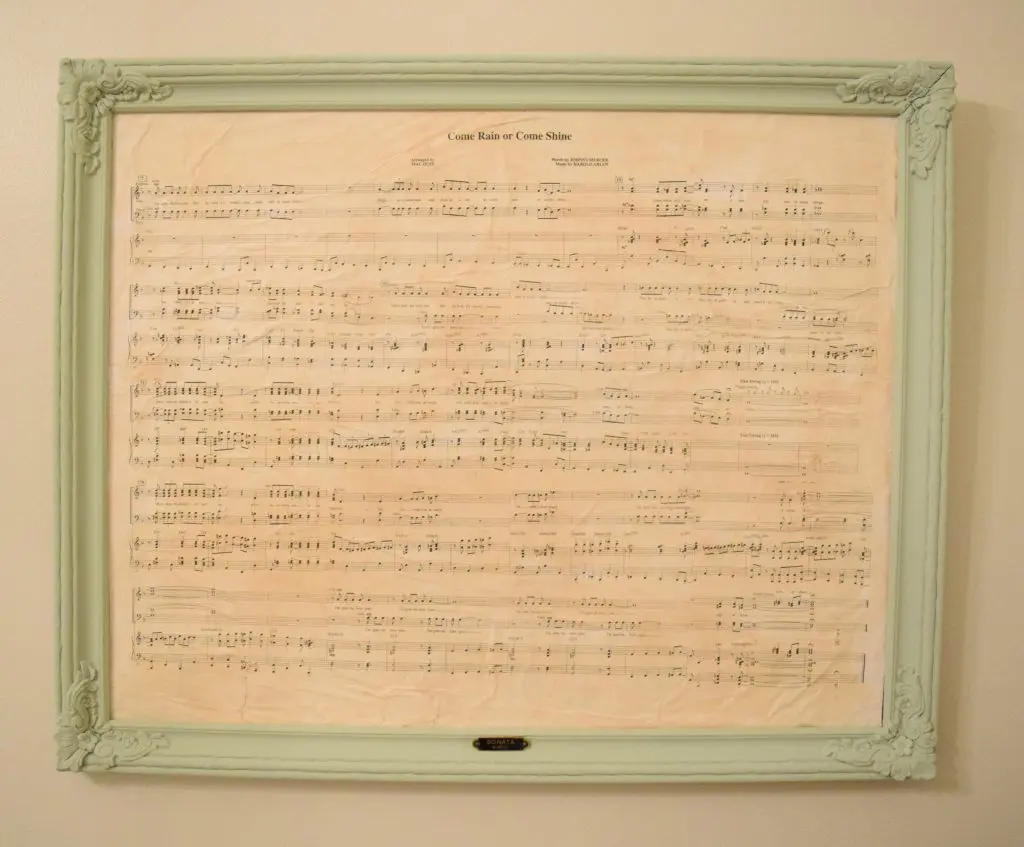
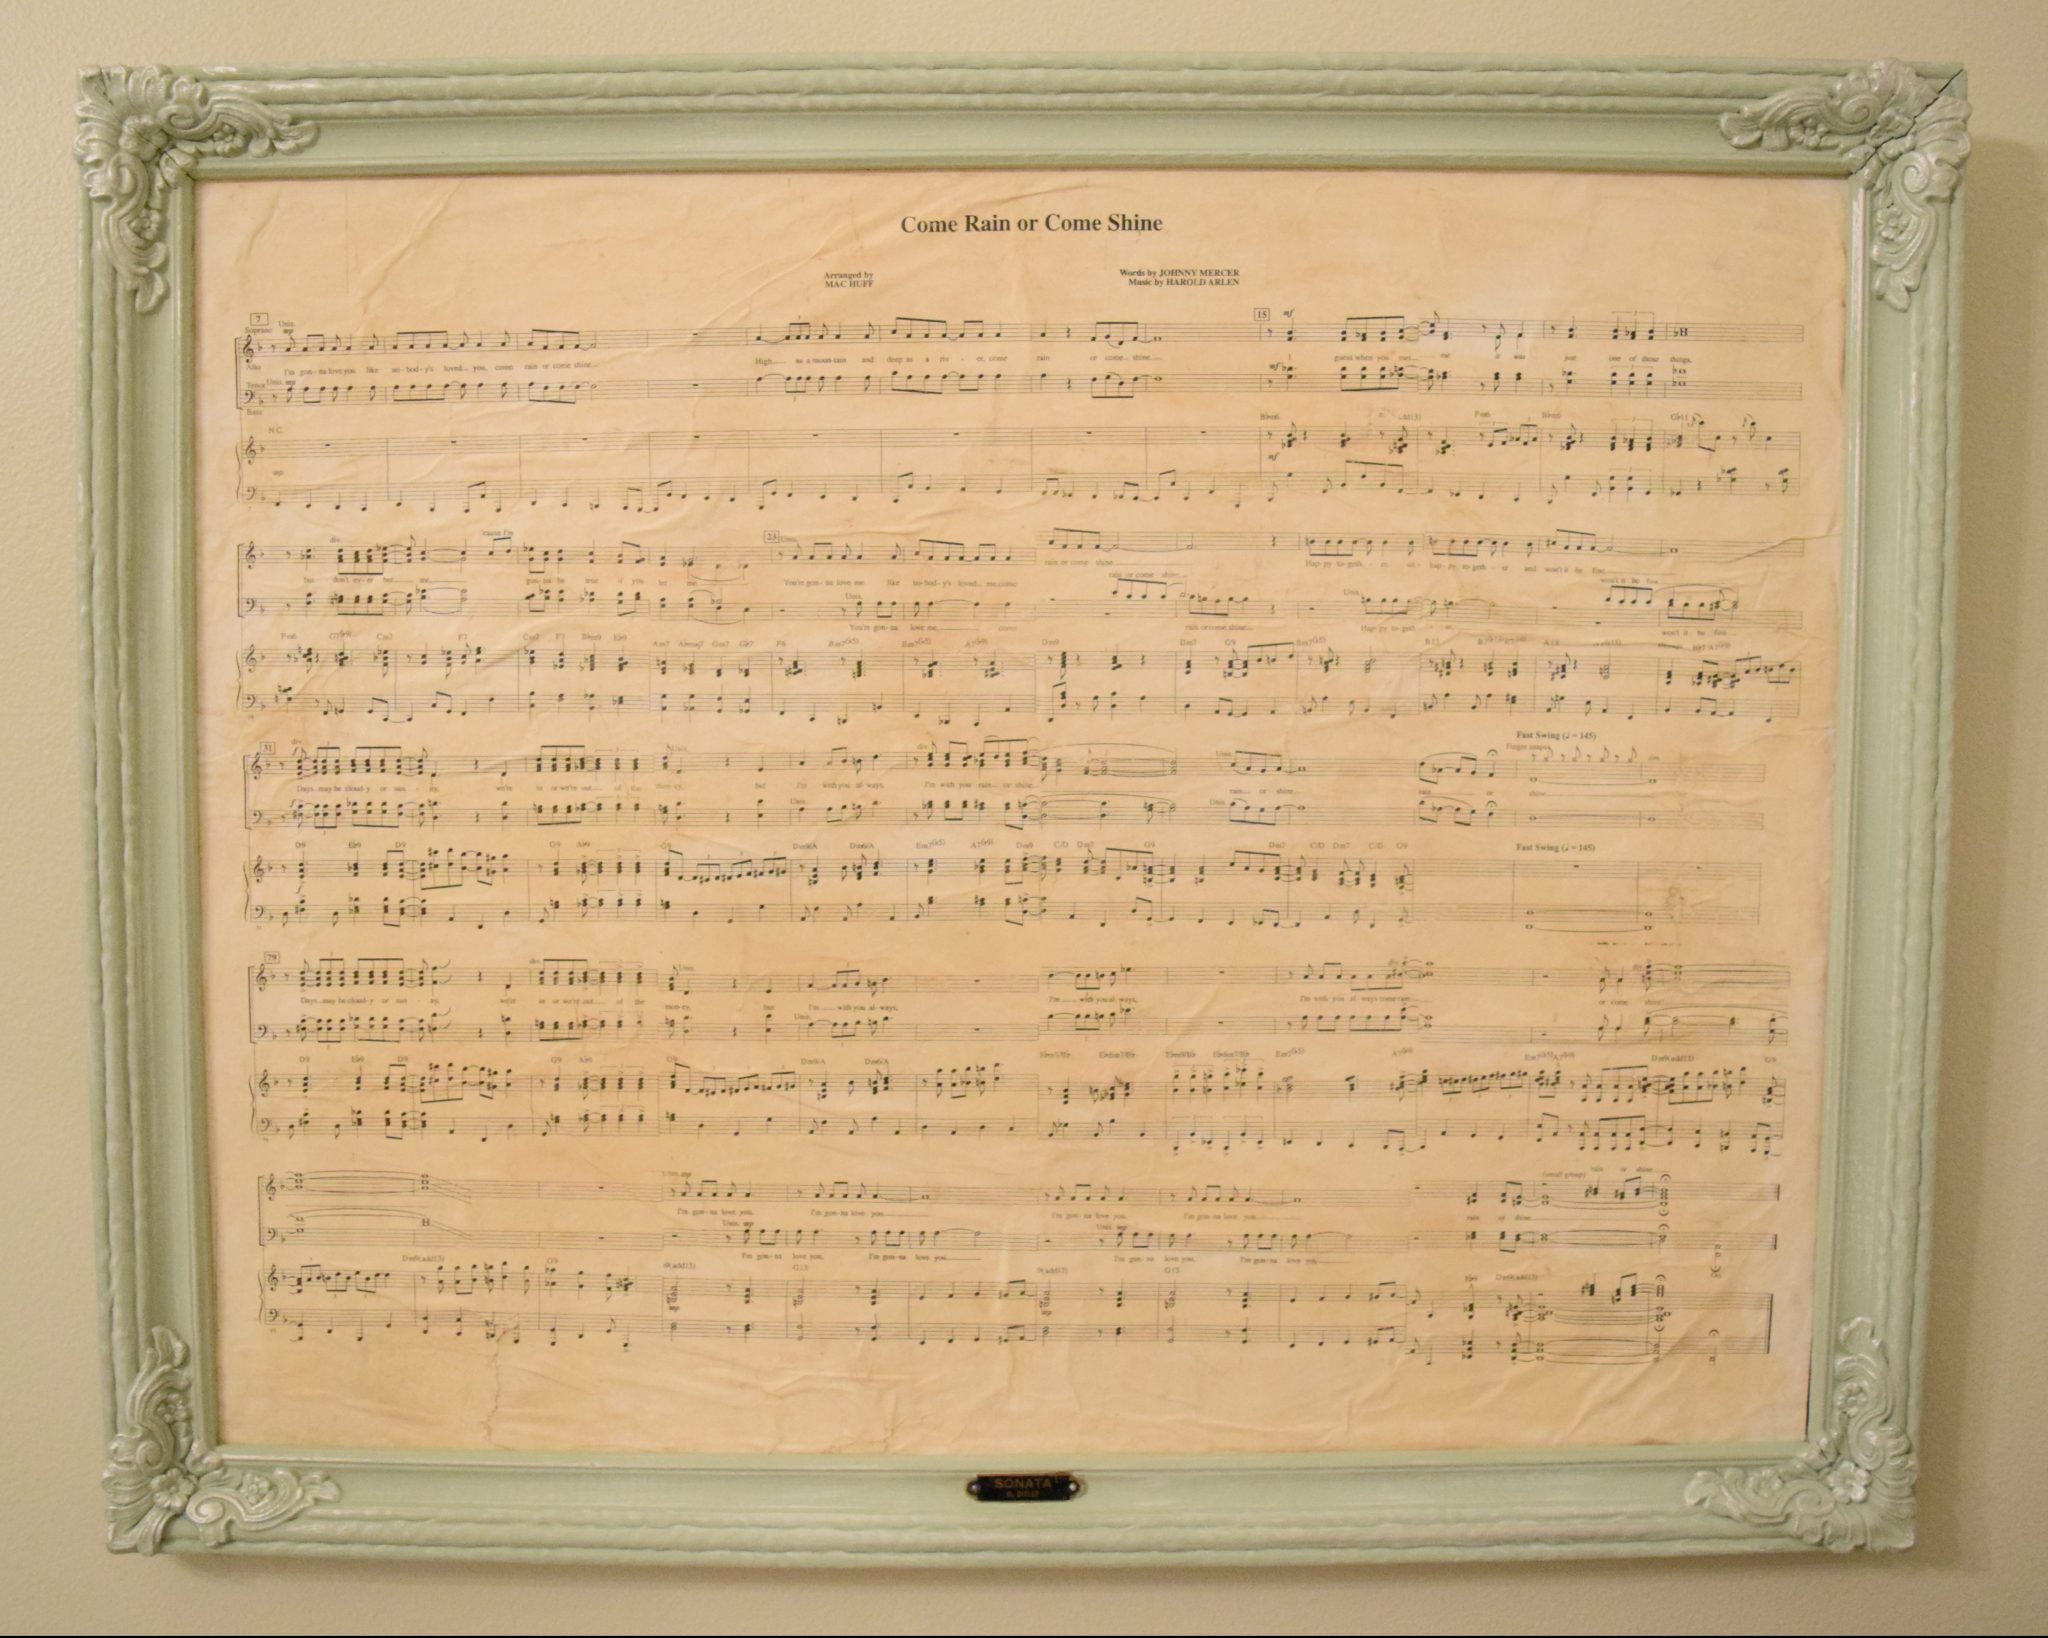
I chose a picture frame. Years ago, I had made an antique looking print of my wedding song and stuck in in this amazing frame I had lying in my basement. The frame was super old though, and was originally a dark, brownish gold. It had great “bones” but was no longer visually appealing due to the extremely dull finish. Unfortunately, I don’t have a before picture of it to show you what I mean. But you can use you imagination.
Step 1 – Paint the piece a solid color.
When I was doing my weekend bedroom makeover, I painted it a light minty green to match the door in my room. This is how it turned out.
Pretty, right?
But I knew that it was the perfect project to try out that amazing silver leafing finish.
Step 2- Apply white paint.
You can do this step two different ways.
- You can paint white all over the piece and wipe off most of it prior to the paint drying. Wipe it off with a paper towel or a dry rag so that most of the paint comes off, but some remains.
- You can also just use a very slightly wet paint brush. I happened to be painting my trim while completing this frame, so I just grabbed the paint brush that I had wrapped in plastic wrap the night before and painted with the little paint that remained on it.
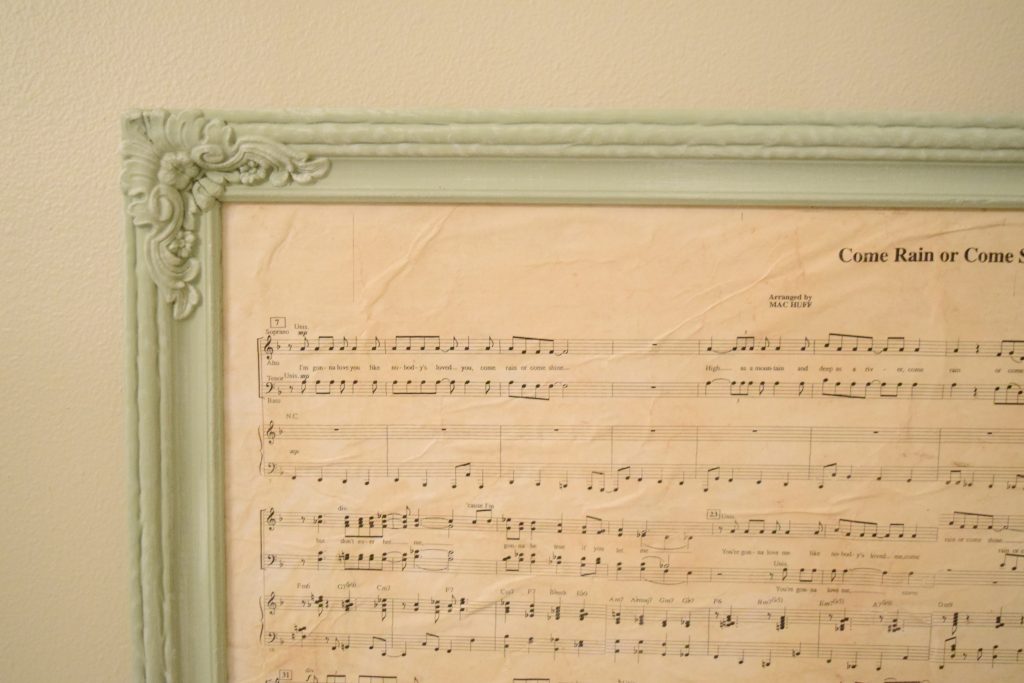

See how there is a little bit of wispy white all over the frame now? It gives the look a little more dimension and interest.
Step 3 – Add Rub N Buff
Rub N Buff is a wax metallic paste made just for this type of project. You can apply it with a rag, a brush or your hands. I chose to try it out with my hands, and it was a little messy. The product is more liquidy than I expected, and a little bit goes a long way.
I started by applying the Rub N Buff on the flowered edges. Using light pressure, I wiped the wax on the edges of the flowers and then moved on to any of part of the frame that came to a point. I applied more on the corners, but also ran my finger along all of the edges of the frame.
The Rub N Buff added even more dimension to the frame, and gave a nice shine to the places where I applied it.

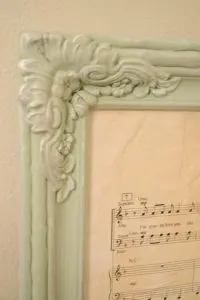
See how gorgeous that looks now?
One thing worth mentioning is that, once you put this stuff on, you’re not going to be able to just wipe it off. If the wax goes on, it’ll stay on immediately. When I first tried applying it, I put a little too much in one area. I tried to wipe it off right away, but it was there to stay. The back of the package does mention that you can use a solvent to remove it, but my advice would be to just try to be a little more careful than I was until you get the hang of how it will apply.
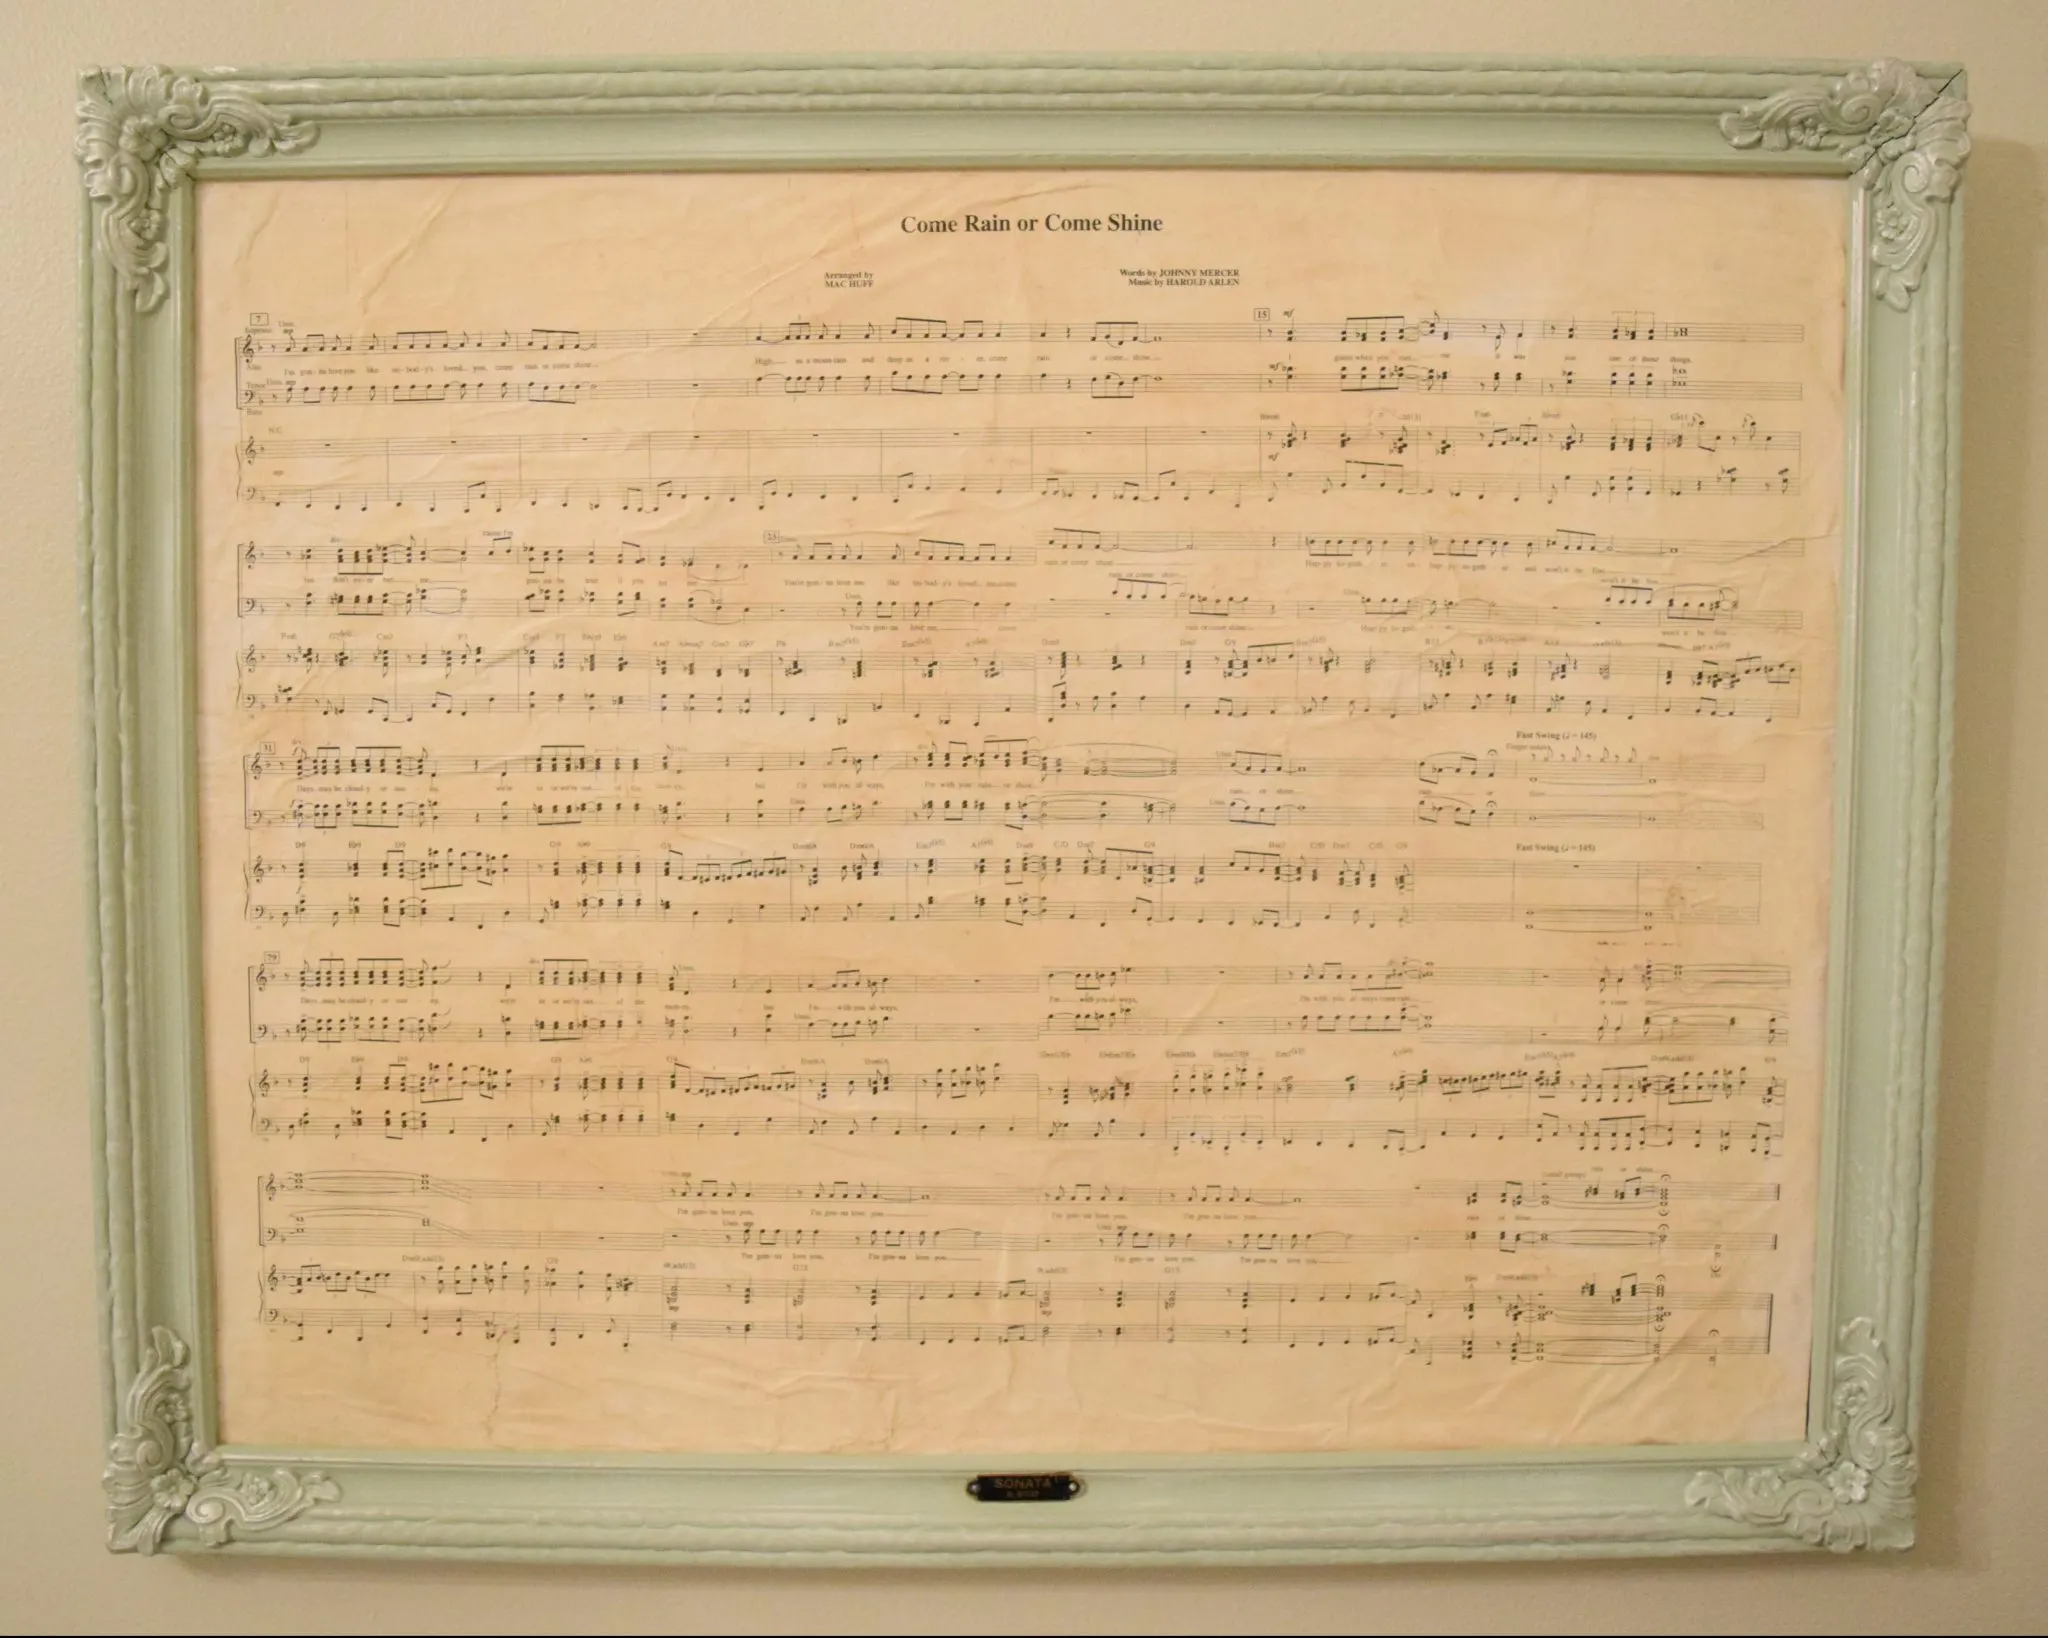
I love how this picture frame turned out.
It was so easy, and only cost me less than $10 to completely update this tired frame.
And I am totally hooked on Rub N Buff.
It comes in a variety of colors, one of which is an antique gold. I can’t wait to try that one out!