
According to Home Advisor, the average cost of remodeling a kitchen is $21,751. While a remodeled kitchen is nice to have, that price tag is likely too high if you’re trying to remodel your kitchen on a tight budget.
Thankfully, there are some great DIY kitchen remodeling projects that even a novice DIYer can do.
Keep reading, and I’ll tell you all about them.
Our Kitchen Remodel – a DIY Project on a Tight Budget
Several years ago, my husband purchased a home that had a builder grade kitchen. Everything was functioning fine, and was in decent shape, but was outdated looking.
We knew that we wanted to remodel the kitchen so that we would get a higher price for the home when it was time to sell it, so we set out to remodel our kitchen on a tight budget. I’ll tell you the total cost at the end, but first, check out our before and after pictures.
This post may contain affiliate links. If you have any questions, please see my disclaimer page.
Our DIY Kitchen Remodel Before
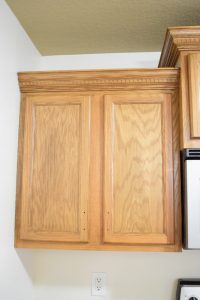
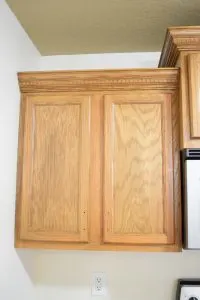
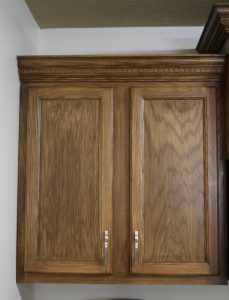
Here is a picture of our kitchen before our DIY kitchen remodel.
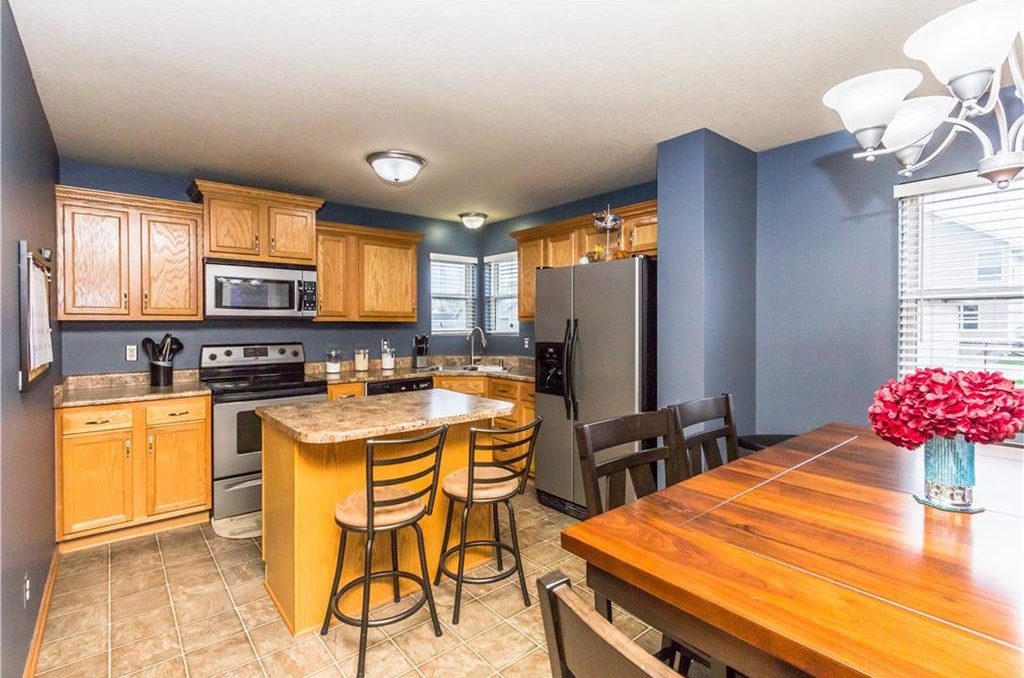

It had dark walls, a tan ceiling, granite-looking countertops, standard light fixtures, and honey oak cabinets.
It wasn’t a bad kitchen. It had good bones, as they say. The cabinets were around ten years old, and the appliances were stainless, and everything was in good shape. We didn’t love the color of the cabinets though, and wanted to make the kitchen feel like our own.
Since we knew that we were going to be selling the house (on our own, without a realtor) within a year of buying it, we needed to save as much money on our remodeling projects as possible, as a house doesn’t appreciate much in 1 years time.
So, we gathered our tools and set to work on our DIY kitchen remodel on a limited budget.
Here is what we did.
Steps in Our Kitchen Remodel on a Budget
Step 1: Paint the Walls
We actually did it before we even moved it. That dark blue just had to go! Immediately after painting, the whole room felt fresh, and much larger.
I have a specific color pallet that I always use in my homes, because it goes perfectly with all types of decor, matches wood or white trim, and consists of neutrals.
This is how to paint your walls the easy way.
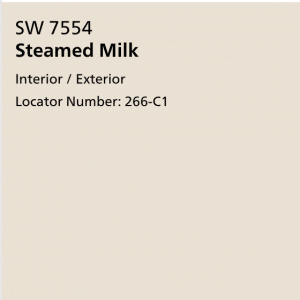
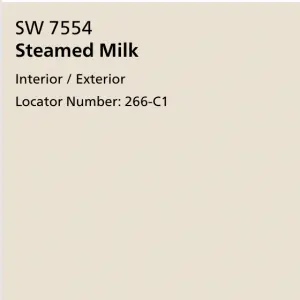
For the kitchen, we chose to paint the walls Sherwin William’s Steamed Milk.
Since this was the first step in our DIY kitchen remodel, we weren’t sure what the color of the cabinets would be when we were finished.
We also weren’t sure if we would end up painting the tan ceiling or not. It was a neutral, and wasn’t really noticeable when we looked at purchasing the home because the walls were that dark blue.
Last, we didn’t know if we would have enough time to paint all of the wood trim in the home.
So we wanted a color that would lighten up the room, coordinate with the ceiling color, match the wood colored trim, and would go with whatever color the cabinets ended up being.
Steamed Milk was the perfect choice. Plus, it is a great coordinating color for Sherwin Williams Agreeable Gray, which we were painting in the rest of the home.
Step 2: Change the Faucet.
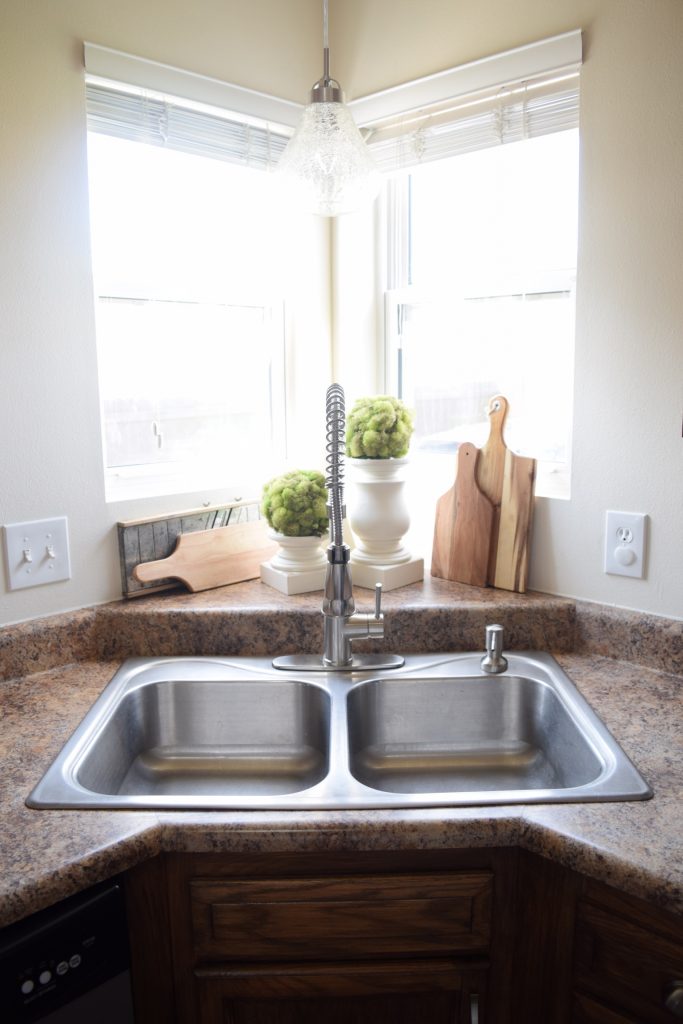
When we purchased our home, the faucet in the kitchen was broken. It was stuck on the spray option, and couldn’t be fixed.
So I ordered a new faucet off of Amazon. I loved the industrial style of it, and it made the sink look like it was updated. This faucet was a great buy! (And see those walls in Steamed Milk? Much better than the dark blue).

Step 3: Paint the Trim
Once we were finished painting that walls, I realized that I was going to have to paint that trim. The wood color was fine, but I love white trim.
So I painted the trim Pure White, by Sherwin Williams.
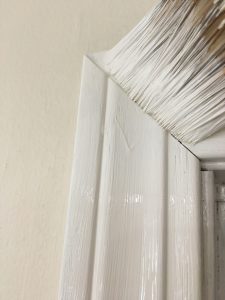
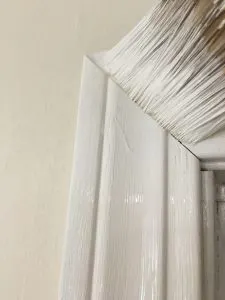
If I could do it over again, I would paint the trim first. It is easier to paint the trim with a wide stroke (getting it onto the wall) and then get the crisp line with the wall paint color. But hindsight is 20/20, right?
Here is everything I learned about DIY trim painting.
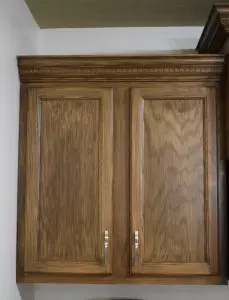
Step 4: Stain the Cabinets
After the painting was finished, I started to work on the cabinets. I had never refinished cabinets before, so I had put this task off for a bit.
Thankfully, refinishing the cabinets was actually much easier than I expected! I envisioned hours of sanding, but ended up using a method that only required a light sand.
My general steps were to wash the cabinets down well, sand them, remove the sanding dust, then apply Minwax PolyShades with a natural bristle brush.
Minwax PolyShades is a product that is a top coat and a color all in one. It comes in a variety of colors, but I chose Espresso because I wanted a dark color when I was done.
The cabinets looked so much better when I was done. The deeper wood color looked much more in style and really gave the kitchen a remodeled look.
If you want more information on the process for staining your kitchen cabinets darker, check out how to refinish wood cabinets with minimal sanding.
Step 5: Customize the Kitchen Island with Trim, and Paint It
While I loved how the cabinets turned out, I really wanted the kitchen island to pop. Two toned kitchens had just come into style, and I knew that would be the perfect way to set our kitchen apart when it came time to sell the home.
So I went to my local home improvement store and purchased trim and crown molding to add to the kitchen island. When I finished cutting and adhering all of the trim, I sanded everything down and painted it a creamy white.
It was beautiful!

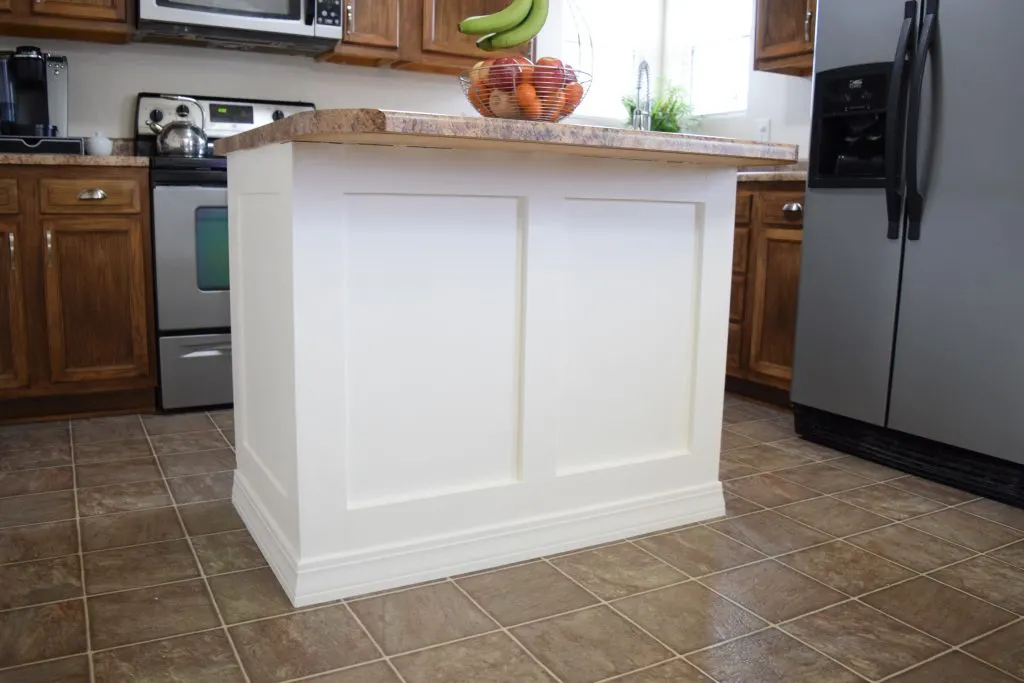
Here is a detailed explanation of how to customize your kitchen island by adding molding.
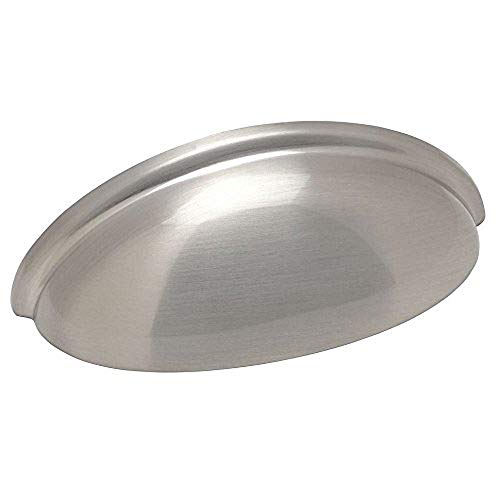
Step 6: Change the Kitchen Cabinet Hardware.
After all the painting and staining, we wanted to go the extra mile by getting new knobs and pulls for the cabinets.
If you want to remodel your kitchen on a tight budget, a great way to start is by changing the hardware on your kitchen cabinets. Amazon has really great pulls and knobs. They are inexpensive, high quality, and stylish. Here are a few of my favorites:


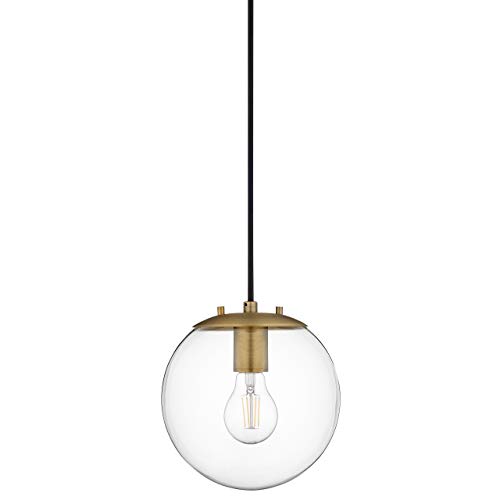
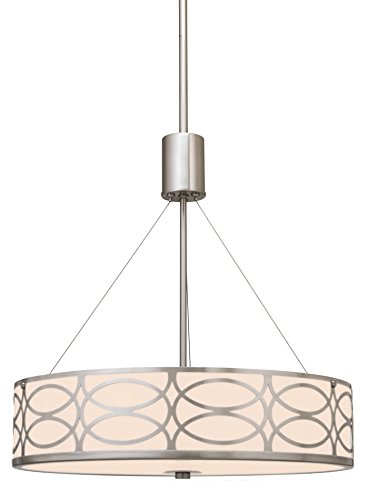
Step 7: Change the Light Fixtures
Next, we decided to update the light fixtures to something that reflected our style a little better.
In a DIY kitchen remodel, changing the light fixtures can make a huge impact. Dated light fixtures make the whole room look dated.
Unfortunately, lights can be really expensive. But they don’t have to be!
There are a few budget friendly options for upgrading your light fixtures. First, you can DIY it. Spray paint your current one. Chalk paint and distress it.
Second, you can pick one up at the ReStore. It is a goodwill type store that is run by Habitat for Humanity, where contractors and home owners drop off used home items. You can find a lot of great fixtures there.
Third, check out your local discount store. Many of them have started carrying light fixtures. I typically get my lights at a store called Bargain Hunt.
And last, look at these Amazon finds. If I can get a light for under $100, I feel like I got a great price!

Step 8: Paint the Ceiling
In the end, we painted the ceiling as well. It just seemed silly to do all of the work we had already done and leave the ceiling a dark tan color (plus, we were selling the house and when it didn’t get an offer after the first showing, I got nervous and we painted the ceiling that night. I’m used to selling my homes pretty quickly!). It was the right choice, because the whole room felt brighter when we were done!
Our DIY Kitchen Remodel After

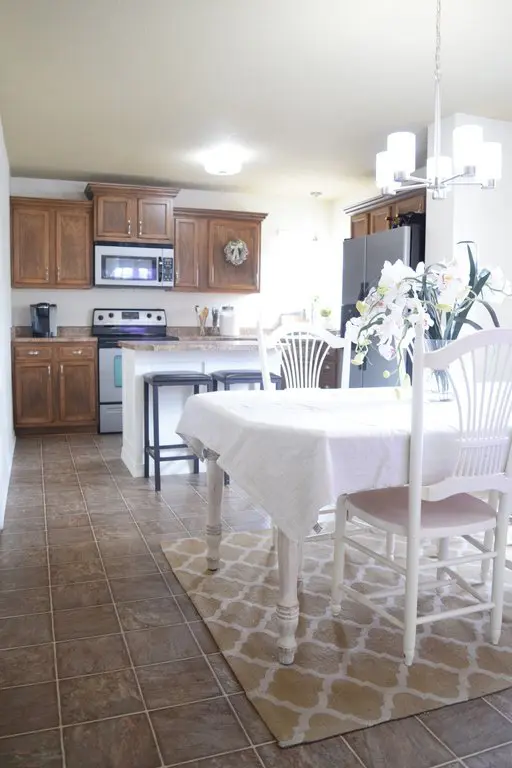
Looks so much better, right?
Okay one confession for my detailed oriented readers… this picture was taken before we painted the ceilings… so you’ll notice that the ceilings are still dark.
So now I’ve listed all of the steps to our DIY kitchen remodel, I’m sure you’re wondering how much we actually spent to remodel this kitchen. I’ll break it all down for you now.
Remodeling Your Kitchen on a Tight Budget
Step 1: Paint the walls – Cost $60 (two cans of Sherwin Williams Super Paint, on sale of course)
Step 2: Change the faucet – Cost $110
Step 3: Paint the trim – Cost $40 (one can of Sherwin Williams ProClassic Paint – that I used to paint all the trim in my house)
Step 4: Stain the cabinets – Cost $20
Step 5: Customize the kitchen island with molding – Cost $60
Step 6: Change the cabinet hardware – Cost $20
Step 7: Change the light fixtures – Cost approximately $110 (for all three lights!)
Step 8: Paint the ceiling – Cost $30 (two cans of Sherwin Williams Eminence Paint, on a really good sale day)
Total Cost to DIY Remodel My Kitchen? $450
That is WELL under the $21,000 plus that Home Advisor says is the average cost. And WELL worth every penny!
I love how my kitchen turned out. My husband and I enjoyed all of the projects (well, most of the time), learned some new skills, and significantly upgraded the look of our home.
Good luck with your own kitchen remodel!
I hope that you find amazing ways to remodel your kitchen while staying within your budget.
Drop me a note and let me know your thoughts!
And remember to Pin this for later!

Beth
Sunday 15th of January 2023
What do you think of the colored stains out there? Since I’ll never get my cabinets smooth, I’m starting to think I should just go with it and refinish with a new stain color. I was told that you can’t really go lighter color, though. From past experience, green can be one way to neutralize the reds in something. Like maybe orangey 1990s oak cabinets. But if I can, I think the bleached distressed look would be cool too… I watched a video where a lady took a old credenza outside, sanded and rubbed it with bleach and it looked great after. Too bad I can’t bleach my cabinets in situ.
Lauren
Sunday 15th of January 2023
Hey Beth! If you want to go just a shade or two darker, then Poly Shades works fine. But if you want a big difference, go with General Finishes Gel Stain. I agree, I love the bleached look, but I don't think its really a quick and easy DIY. It will take a ton of sanding and stripping, and if your cabinets have the typical 1998 front with lots of different levels, that is going to make it even more work to sand in all the detailed areas. As for neutralizing the red with green, in theory, you are right. Now, whether you could get it to come out right on your cabinets, I just don't know. Definitely worth trying though. If you're going to put shiplap on your island like you mentioned on the other post, it may be worth trying few stain options on it prior to putting the shiplap on to see what works best. Then, you can just cover it up once you have the right shade. Hope this helps! I'm super excited for your kitchen makeover!!
Juanita Clarke
Wednesday 21st of April 2021
I have a half wall with shelves on top between living room and kitchen ( knotty pine and honey oak cabinets) id like to redo shelves but don't know what to do with them. Any suggestions
Lauren
Thursday 29th of April 2021
Hi Juanita! I'm not sure that I'm envisioning your space exactly as it is, but you could always just remove the shelves and have it just be a half wall. Adding box trim around the bottom part of the wall can give it a nice look. Also, paint does wonders. Painting the shelves in a bright white may be all that is needed to make them look gorgeous. Good luck!
JB
Thursday 19th of November 2020
Hello! My kitchen faces North so I have no pretty sunlight coming in, just a bluish/grayish cast. Do you think Steamed Milk could still work against my orangish cabinets?
Lauren
Saturday 21st of November 2020
Hi JB! Steamed Milk is going to work with your orangish cabinets, instead of against them. If you want a color to neutralize them more, go with a green or blue. For one that matches, but doesn't necessarily accentuate them, Steamed Milk is great! It'll be good in a room with cooler light coming in. I would definitely suggest getting a Samplize square to see how it looks against your cabinets and with your light!
Patty Mannina
Friday 13th of November 2020
Hi Lauren, First I want to say how much I love your website. Very informative. I hope you can guide me. When I bought my kitchen cabinets 15ish years ago they were a light cherry called nutmeg. They have darkened to a medium/dark red/orange/honey color. I have dark green counter tops that have some grey in it. and a very light beigey floor with hints of grey. My backsplash is multiple colors of beige, orange, greyish blue etc stone. Here is my dilemma, the cabinets pop. I want to tone it down without having the walls glow blue or peach/pink. Revere Pewter and Agreeable gray look blue next to the cabinets at certain times of the day. Accessible beige looked peachy. A couple of whites I tried just looked too white. I don't think I want a green kitchen. Any suggestions would be greatly appreciated!
Lauren
Tuesday 17th of November 2020
Hi Patty! Thank you for your comment! I think you're on the right path looking at greige paint colors. Check out Repose Gray, Mindful Gray and Colonnade Gray. They each have different undertones, but one of them might work for you to update the look of the cabinets. Of the three, Colonnade probably has the least prevalent undertones. Hope one of these works!
Neha
Monday 29th of June 2020
Hi Lauren! What paint colour did you use on the island? We are torn between using greek villa and creamy on our cabinets with tropic brown granite countertops. Natural light is decent in the morning
Lauren
Monday 7th of September 2020
Hi Neha! I'm so sorry I didn't respond in a timely manner on this question! When someone has commented before, I don't get an alert that I have a comment, so I didn't realize that I had missed this! Unfortunately, I don't know what color this was. I used Behr Marquee paint, but I just went and looked at their color chart and I don't see any that look familiar. I didn't like the paint type though. The color was similar to Greek Villa or Creamy, but with a little less yellow. Either would be pretty on a cabinet though!