
Hanging curtains is a great way to spruce up a room. It makes the room feel welcoming and finished. They provide privacy, lend style to the room, and can even save you money on your heating and cooling bill!
There is a right and a wrong way to hang curtains though.
Curtains that are too short, wrinkly or hung poorly do not look pretty! Instead of highlighting the window, you end up highlighting the awkwardness of the curtains. You want your curtains to seamlessly flow with the design of the room, and accentuate the finer points of it (such as the windows).
This post may contain affiliate links. If you have any questions, please see my disclaimer page.
Here are 5 tips for how to hang your curtains perfectly every time!
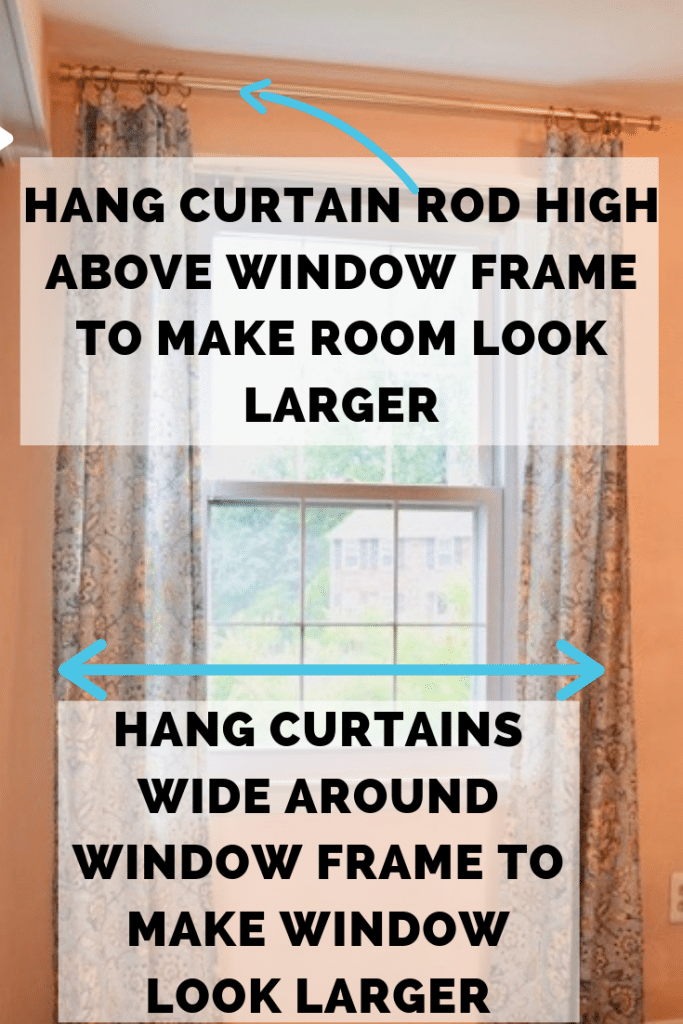
1.Hang the curtain rods high and wide.
Curtains that are hung high and wide make the room feel taller and the window look larger. They give the illusion that the window reaches the whole way up the wall. Curtains that are hung too close to the window diminish the size of the window and the room.

2. Use a template to ensure the rod is level and the same length from the window.
Using a template is the easiest way to make sure your curtains are hung perfectly.
Using a level to hang your curtains works as well, but its so much harder. You have to hold the curtain rod up, with a level on top of it, and then mark lines on the wall of where you want the holes to be. Even with two people, this can be a challenge.
Instead, make yourself a template. I use a piece of cardboard.
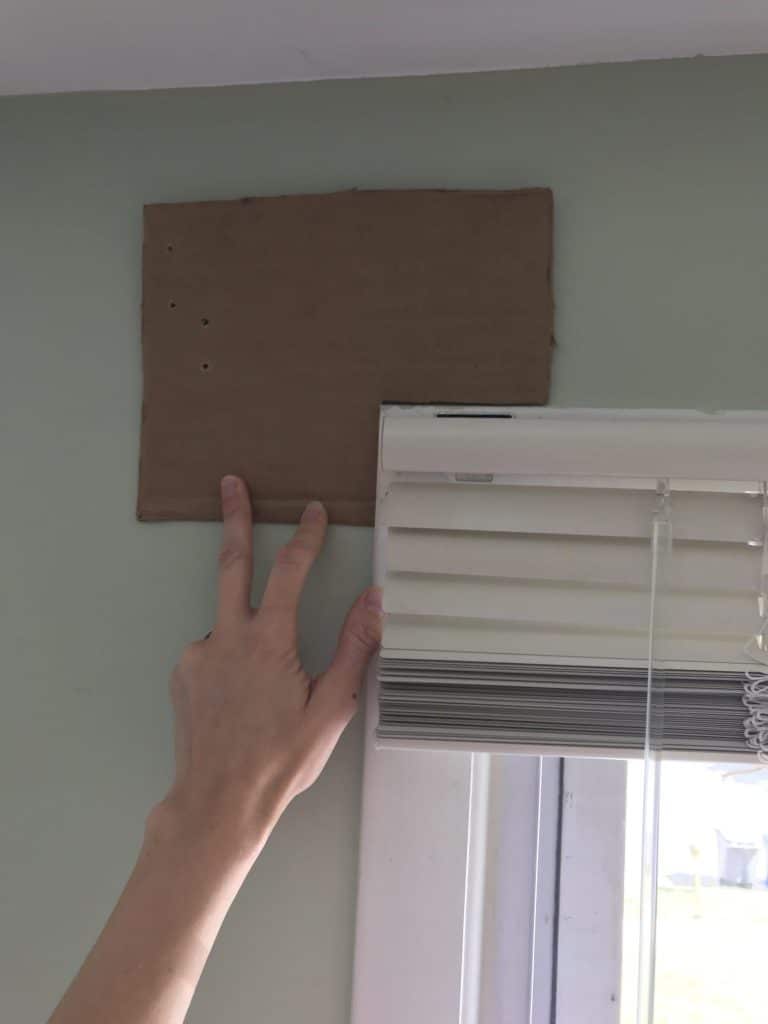
Cut vertical and horizontal line in it, so that a square is made in one corner. Attempt to make your square as “square” as possible, so that your template fits snugly on the window frame and doesn’t wiggle. Then, hold that corner up to the window to make sure your template is large enough to put the holes where you want them.
Once you’ve made the template, place your curtain rod bracket and place it on the template. Put a mark where both of the screw holes are on the template. Make sure that the bracket is perfectly vertical, so that the bracket hangs level. These marks will indicate where you need to drill the pilot hole in the wall.
Sometimes, when I use this method, I can’t visualize where the curtain will actually hang on the wall. I have ended up making the holes not as high as I want, and have to redrill the holes. So often I use the next method.
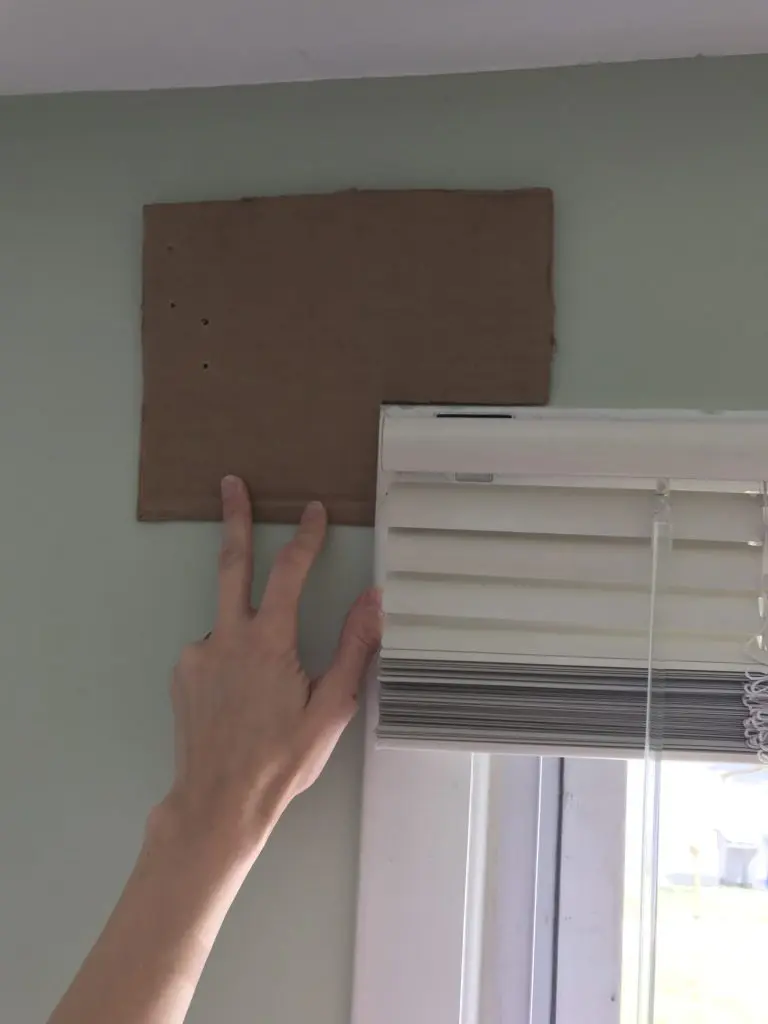
Alternatively, gather your drill, the appropriate size drill bit, and the curtain rod bracket. Place the curtain rod bracket on the template and hold both on the wall with one hand. With the other, drill a pilot hole in the template and wall, through the bracket screw hole. Then, drill another pilot hole in the other bracket screw hole. This will mark the exact place you want the hole to be in the template (and your first drill holes are already made in the wall).
Once the first holes are drilled, take your template, flip it over, and place it on the other corner of the window frame. Make your pilot holes through the same holes in the template that you made on the other side.
Now, the holes on both sides of your window should be placed perfectly in the wall. Because you used a template, the holes will be the same distance above the window frame and the same distance from the sides of the window frame. Perfect! Your curtain rod will hang level.
As a note, curtain rods have a fat side and a skinny side so that the slide into eachother. Because of this, the skinny side will hang slightly lower. If this is noticable and bothersome to you, you can use the screws that are attached to the bracket where the rod sits to increase the height on the skinny side.
3. Use the plastic anchors that come with the curtain rod set.
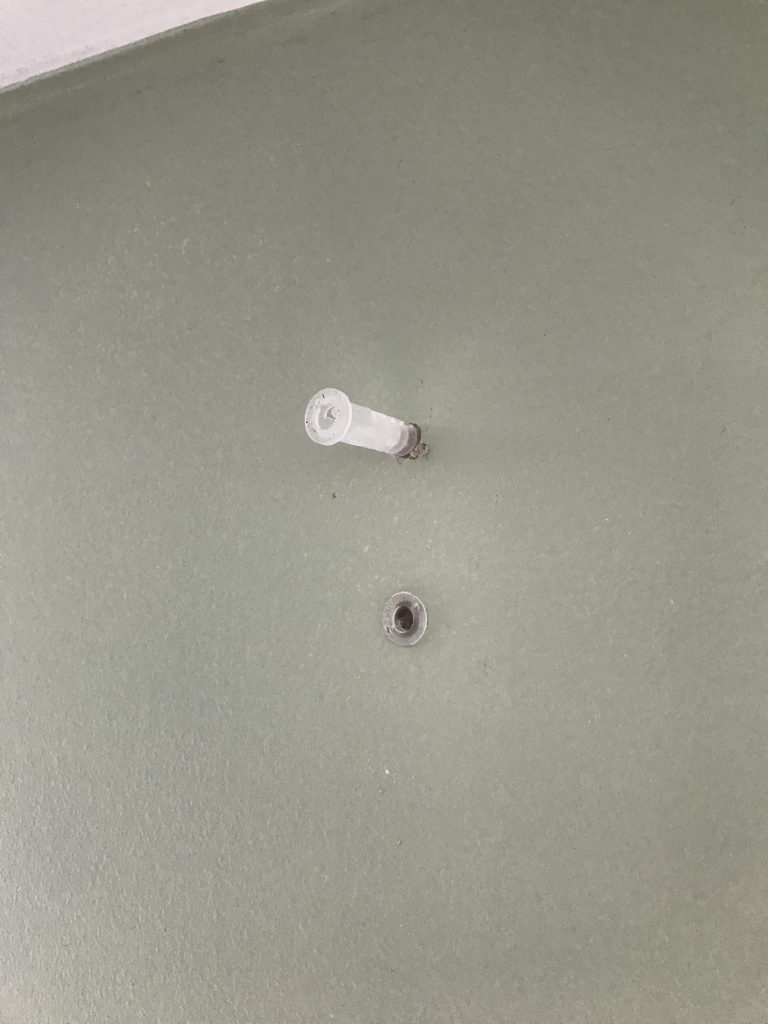
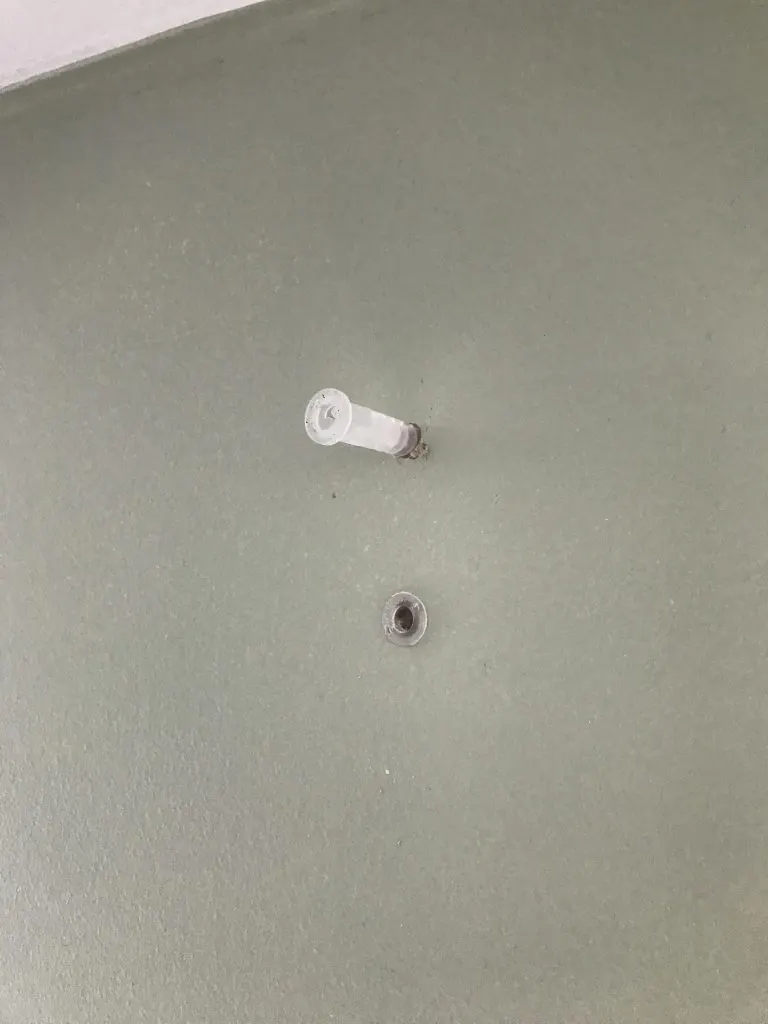
I can’t tell you how many times I have had to fix curtain rods in homes that I have purchased or rented because someone did not use the plastic anchors. They are included in the pack for a reason!
To use them, drill a pilot hole with a drill and a drill bit. The instructions that come with the curtain rod will tell you what size to use, but generally speaking, if you choose one that is just slightly smaller than the screw width, you should be fine.
After drilling the hole, put the tip of the plastic anchor in the wall and lightly tap it with a hammer. It should go in relatively easily. If it doesn’t, resist the temptation to pound too hard. You’ll end up breaking the plastic anchor (I speak from experience). Instead, drill a lightly bigger hole with your a slightly larger drill bit.
Once the anchor is secure, you can put the curtain rod bracket with the screw inside of the hole into the anchor.
4. Make sure your curtains are long enough.
Curtains that are too short make the room look small and awkward. If your curtains are too short, and you need to lengthen them (without sewing!), check out this tutorial. It includes two ways to lengthen your curtains, which can add as much as 6 inches to your curtain length!
5. Steam the curtain for a perfect look.
Now that your curtains are hung, grab a steamer to get any wrinkles out. Wrinkles in curtains are distracting! Perfectly hung curtains should accentuate the room, not be distracting.
I have this steamer, and it works really well. I also use it to steam bed linens, bed skirts, clothes, and more!
If you do these 5 things, your curtains will look perfect!
I hope that this helps you decorate your room, accentuating all the good parts of it and making it look larger!
Drop me a note and let me know if the template method works for you!
